DM7900 Week 10

In this week’s lecture we experimented with producing Facebook filters by using a combination of software packages – Figma and Spark AR Studio. 

Despite having an awareness of filters for mobile applications such as Facebook, Instagram, and Snapchat, I’d never given thought to creating them myself; this week’s experiments mostly surprised me by how accessible they are to consumers. Although a computer with reasonable specifications is required, no part of the process required intense resources, and all interactive elements were fairly intuitive. 

An example face mesh texture

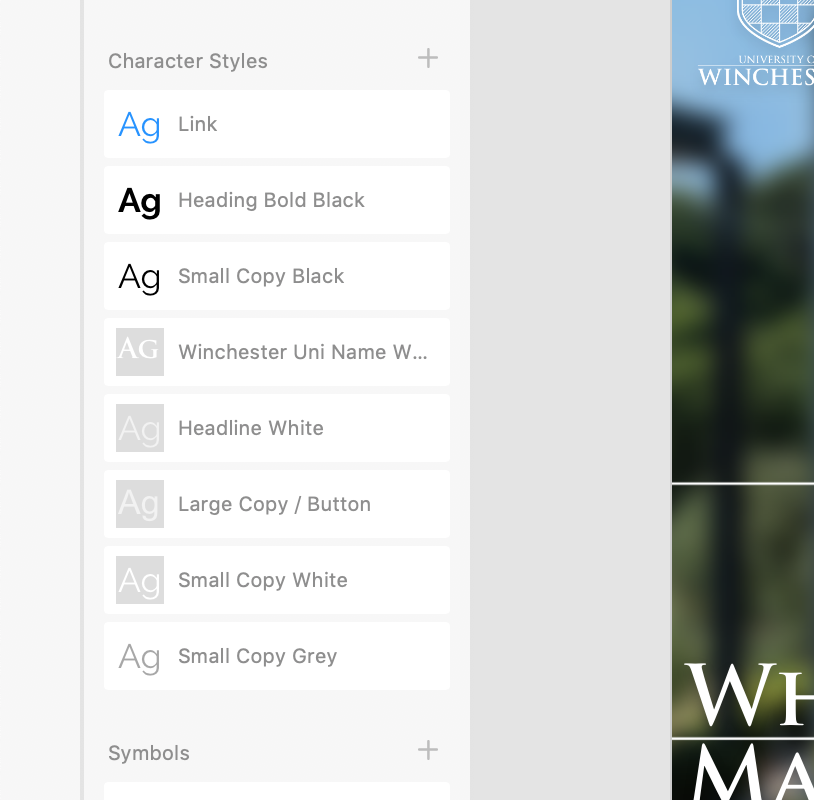
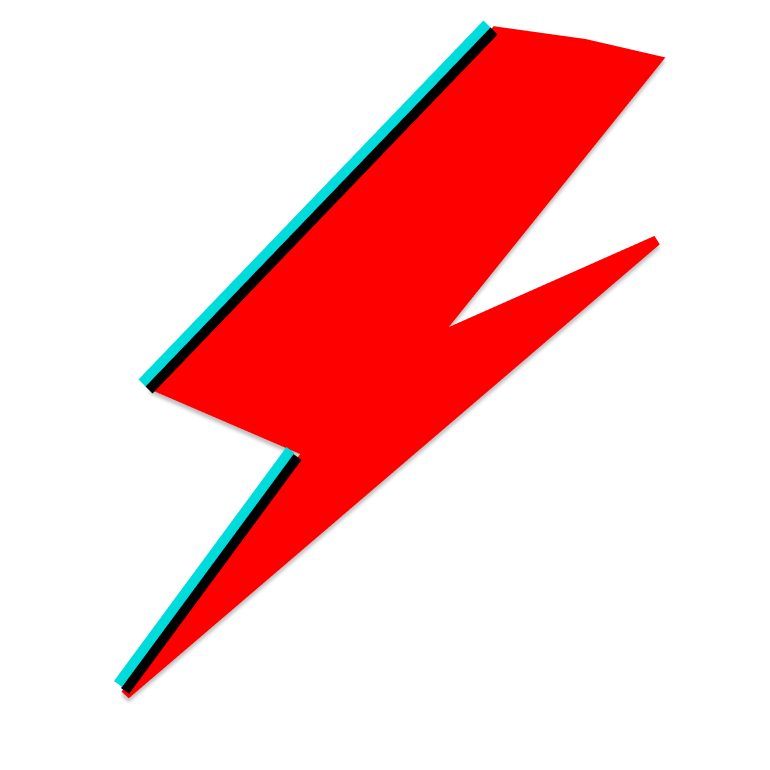
We used Figma purely for its online image-creation abilities. For example, we uploaded a face mesh texture and used this as a map to draw upon. In my experiment, I tried to replicate David Bowie’s Ziggy Stardust face paint.  

My replication of Ziggy Stardust’s face paint

Spark AR Studio required us to input these meshes (minus to mesh texture), and then map this onto a face. Moving previews of real people (with differing face shapes, hair, and skin colour) were available for modelling your outcome. 

Applying my filter to a pre-loaded model

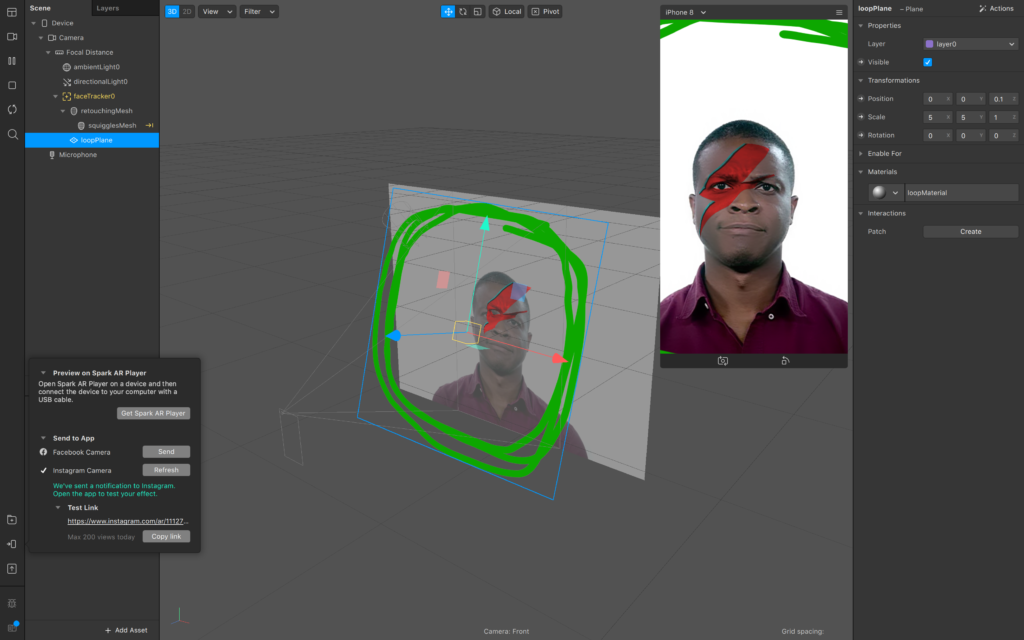
You could also add invisible planes around the faces of these models. I’d imagine this would greaten the possibilities of this software – with some extra illustration and animation skills, perhaps someone could produce birds flying around a model’s head? 

A Lighting Guide poster

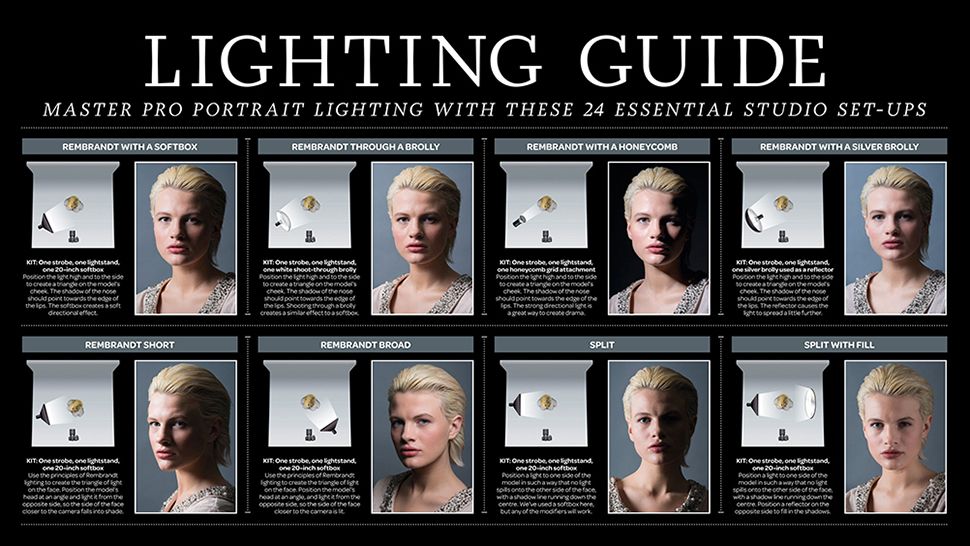
In relation to my own studies, I could imagine using these filters to demonstrate how lighting setups can produce a variety of different outcomes – perhaps as a replacement for the Lighting Guide posters that adorn walls of photography studios in many sixth form colleges. This would also negate the need for any lighting equipment, or even the presence of students in the same room as the teacher. This could be useful for online teaching, especially if the physical aspect of setting up lights could be demonstrated using a different software solution. 

Adobe XD Experiment

As part of this weeks lecture we were given access to an Adobe XD tutorial. It involved a variety of tasks that culminated in producing a mobile app with very similar functionality to TripAdvisor.

I really enjoyed how accessible Adobe XD is to use. Even though I didn’t produce the app itself, only a high-fidelity prototype, I was still very impressed by how easy it was to produce a professional-looking outcome. I was also surprised to learn that a lot of the graphical elements that are native to Apple’s iOS and to Android devices are freely available to download – this goes a long way towards making a high-fidelity prototype simulate the finished product.

Inspired by this, I decided to experiment by producing my own prototype of an application. I had an idea in mind to produce an application to support my role as a Media Trainer at the University – it would feature news, training schedules, and training resources such as videos, guides, and official manuals.

The Design view of my prototype experiment.

I already have access to the University’s branding guidelines as well as some knowledge of working in marketing, so felt confident that I could emulate the University’s corporate image. I included the correct typefaces alongside the branding colours and other graphical elements. Adobe XD also gave me access to a Wireframes UI kit, which provided demonstration graphics such as icons and buttons.

I loved the ability to create “Assets” within Adobe XD. Aspects such as colours, character styles, and symbols, formed groups that could easily be applied across the prototype. As a result I was able to consistently use these styles. For example, I included only three sizes of font throughout the prototype, whereas without the “Assets” function I could have become carried away and included an inconsistent mix of different sizes.

The Character Styles part of the Assets panel

The most challenging aspect of the experiment was using the prototyping mode. This enabled me to control how the use of it interact with the prototype. For example, how long the splash screen would be displayed, which buttons would lead to which pages, and even the animations between interactions.

Unfortunately, I wasn’t successful in producing a scrollable menu. I found myself browsing YouTube videos to try to understand how to integrate this function, however my version of Adobe XD did not seem to have the buttons available. I resolved that my 2018 version of the software did not have this function yet.

Overall, I found this to be a really exciting part of the course so far. I have attached a video preview of the prototype that I’ve made. I would love to get more involved in application design, and although it is not my primary interest on this course, I definitely feel that it has potential to form a secondary income or just a hobby.

DM7900 Week 7

Earlier this week I purchased two really useful books to study during the Masters program:

  1. Laurillard, D. (2012). Teaching as a Design Science: Building Pedagogical Patterns for Learning and Technology. New York, NY: Routledge.
  2. ‌ Beetham, H. and Sharpe, R. eds., (2020). Rethinking Pedagogy for a Digital Age: Principles and Practices of Design. New York, NY: Routledge.

Both books address teaching and lecturing alongside technology, relating them together as a ‘design science’. I haven’t considered teaching as an iterative design process before, nor the practical impact that technology is having on the education industry, so I’m excited to see how the content of these books will challenge current understandings.

This week I’ve also made a start on developing my skill set with prototyping software. I watched the ‘Getting Started with the Adobe XD’ tutorial as part of the Adobe Max event. I haven’t used Adobe XD before but I’m aware of its uses for prototyping. This is the first time that I’ve seen the software in action, and I’m really impressed with it.

I was particularly struck by features such as character styles, components, and repeat grids, all of which make the process of designing a prototype incredibly efficient. I can see how this would be beneficial for both low fidelity and high fidelity prototypes.

I plan to watch more of the Adobe Max videos on Adobe XD over the weekend and checking out the LetsXD website for more tips (https://letsxd.com ). I’m also really looking forward to following a tutorial, provided by my lecturer.