This week my focus has been on creating 3D virtual versions of my client’s products (a makeup bag) and pulling these together to create a short video to place on the product page and to emulate an AR experience. In DM7903 I experimented with photogrammetry to create virtual 3D models, importing them into Apple’s Reality Capture software and screen-recording the outcomes; during this time I also dabbled with combining Adobe After Effects and Cinema 4D Lite with the 3D models to emulate an AR experience, but this resulted in very large render times.
Working within Constraints
Using Adobe After Effects and Cinema 4D Lite for this project would not be suitable due to the project constraints. An Adobe subscription is priced between £20-£30 per month, and the learning curve involved in learning both pieces of software would be too large. Instead, I have opted to use a 3D software package called Blender for this project, which is free, requires a smaller learning curve, and has a wealth of free tutorial information online to foster learning.
Having never used Blender before, I sat down with lecturer Rob Blofield for a tutorial on using Blender. I had already created three photogrammetry models of a make-up bag in different stages of being unzipped (see below). The tutorial was very beneficial in acquainting me with the user-interface and the possibilities available. The outcome produced in the session was very impressive, involving the makeup bag being animated so that it would effectively zip itself up during the animation; however, this was very complicated and advanced to achieve, so would not be suitable for my client.
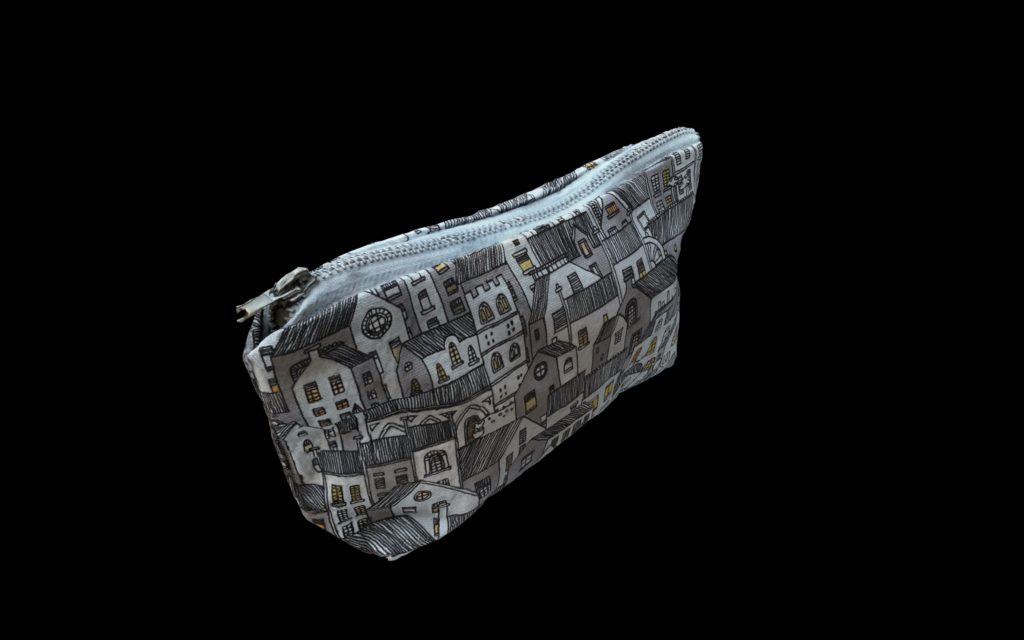
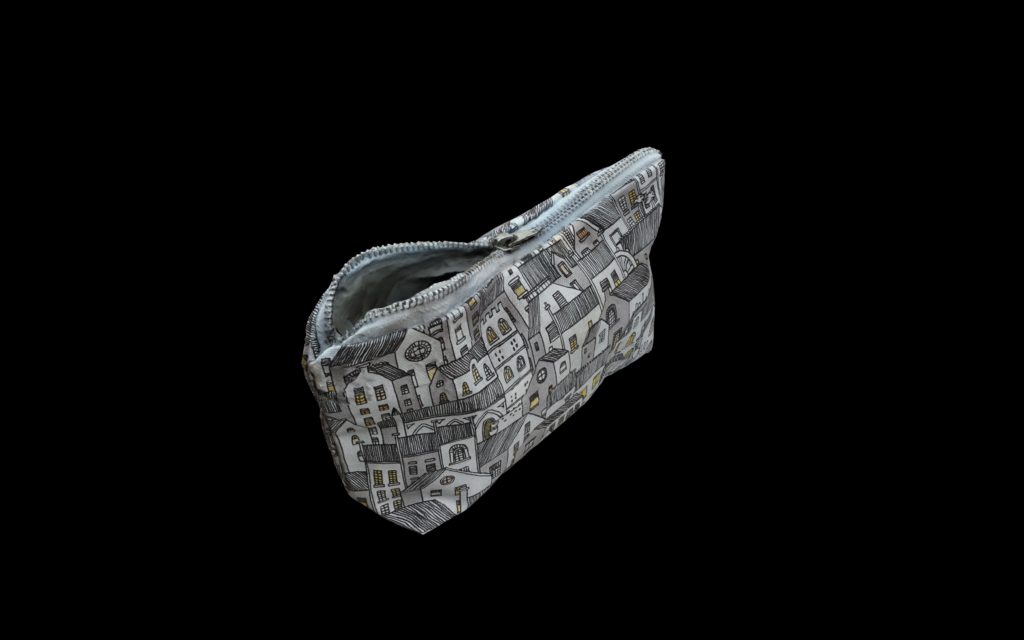
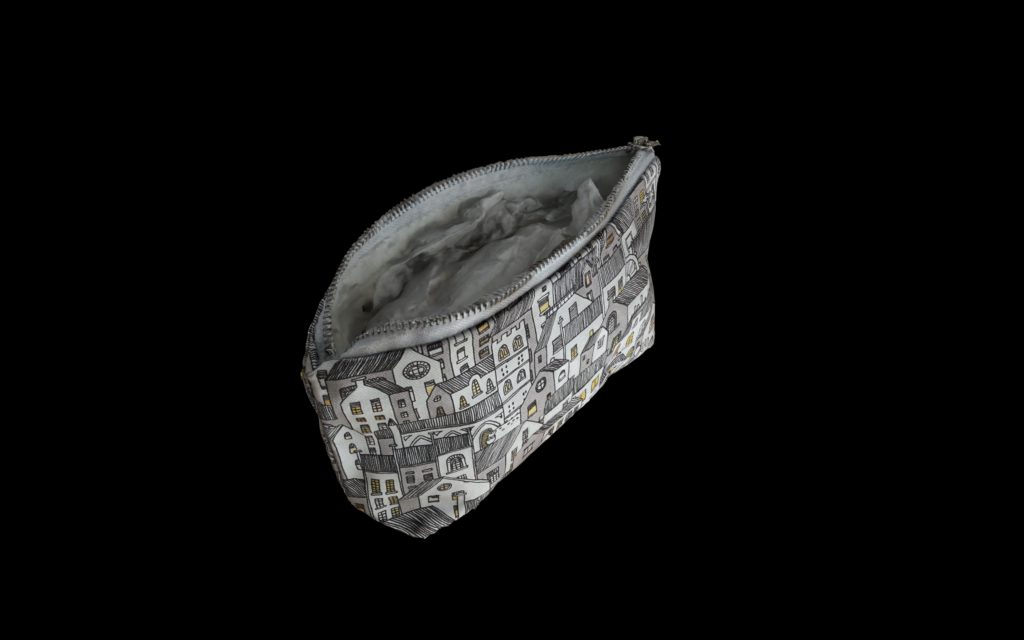
First Experimental Render
I decided to use Blender to create a stop-motion photogrammetry animation of the product rotating, tilting, and unzipping. My first attempt is shown below:
Step-By-Step Recorded Process and Troubleshooting
I have included a bulletpointed description of my creative process below:
- Convert .USDZ files to .USDC, simply by zipping the .USDZ file and unzipping it again. This separates the textures from the model as a format that is compatible with Blender
- Once each model was imported, I assigned the correct texture to each one. I made sure to set the surface parameter ‘Principled BSDF,’ as this would support transparency in the Cycles render engine
- Then, I adjusted the positioning and scale data of each model so that they were all similarly aligned. Later, when transitioning between each model, their similar positioning should allow each transition to appear smooth
- Next, using keyframes and the timeline, I began to animate the rotation, tilt, and visibility of each model. Timings of each movement needed to reflect the movement of the user interface in high-fidelity prototype, created in Figma. I noted the timings below in respect to working at 25 frames per second, and worked to those
- Finally, I set the background for the render as plain white (sRGB colour space, default vector, strength = 2000). I decided to do this so that the resulting render would match the white background of Blossom & Easel’s product page, creating a seamless experience between video and page background.
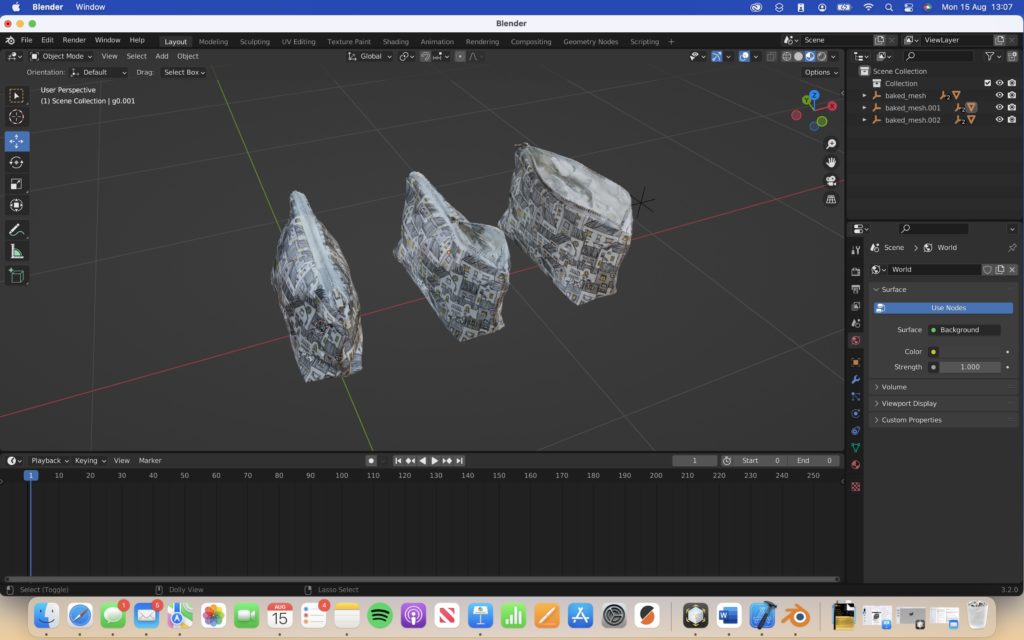
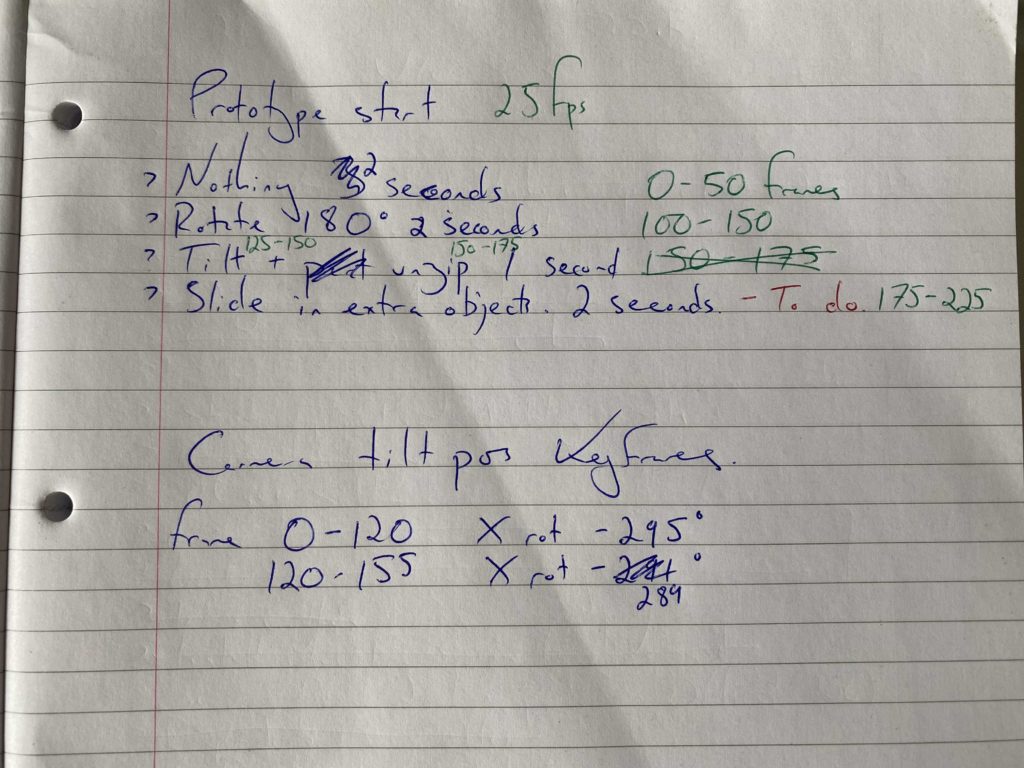
The one troubleshooting aspect that I needed to address involved the visibility/transparency of objects. I decided to use the Cycles render engine rather than the default, Eevee, as this handled transparency much better, as when using Eevee the transparency would be presented as solid black objects. Some mysterious black outlines still appeared when using the Cycles render mode, however I was able to address this by increasing the number of Transparency bounces in the Light Paths tab.
Lighting and Camera
When setting up the lighting and camera for the renders, I was able to use my background knowledge from studying a degree in Photography.
For lighting, I used three area lights, one placed above the 3D virtual object (set to 80W), and the other two placed either side of the object (set to 120W). The light above the object would lighten any dark shadows, allowing details to be seen, while the bright lights either side would emphasise the 3D qualities of the object.
The camera would be placed in-front of the object, with the object filling the frame. A 50mm lens would be used to reduce any chance of lens distortion, and no BOKEH effect would be applied, as although this would provide depth it may be self-defeating as it could impact the user’s view of the object.
When creating the second render, I needed to slightly tilt the camera during the animation so that the object would stay in frame. These was achieved simply using keyframes.
Second Experimental Render
Below is the second attempt of my experimentation:
To create these previews, I’ve been experimenting with outputting the renders in different resolutions and qualities. I’m keeping both variables as low as possible for time efficiency reasons, however the final render will be optimised for the dimensions required by Figma for the high-fidelity prototype.
Third Experimental Render
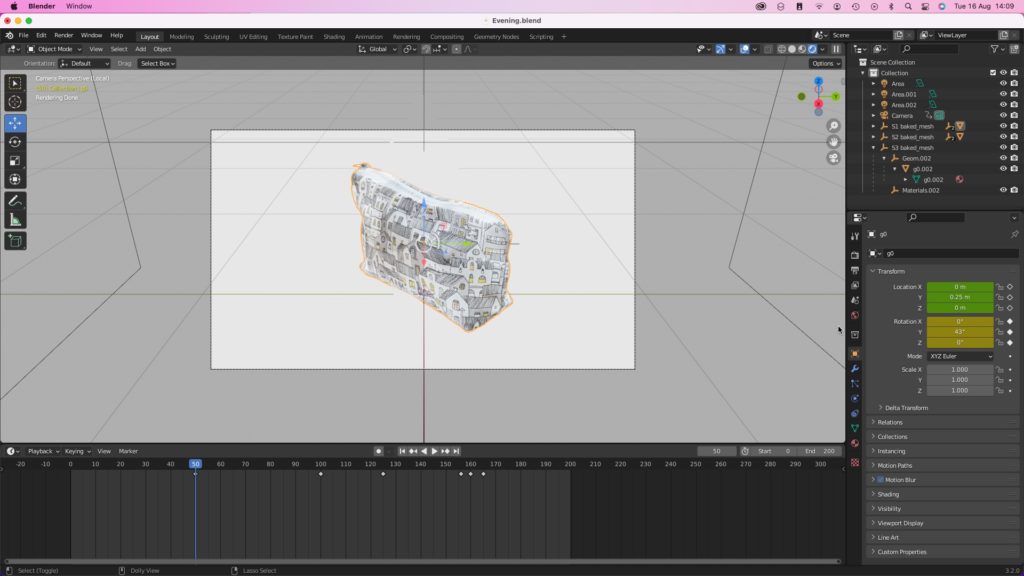
For my final experimental render, I had only a few elements to make. Firstly, I wanted the product’s first impression to be a side-view, as this would best showcase the design and artwork to the consumer, so I adjusted its datum rotation angle on the Y-axis to be 43 degrees (see below).
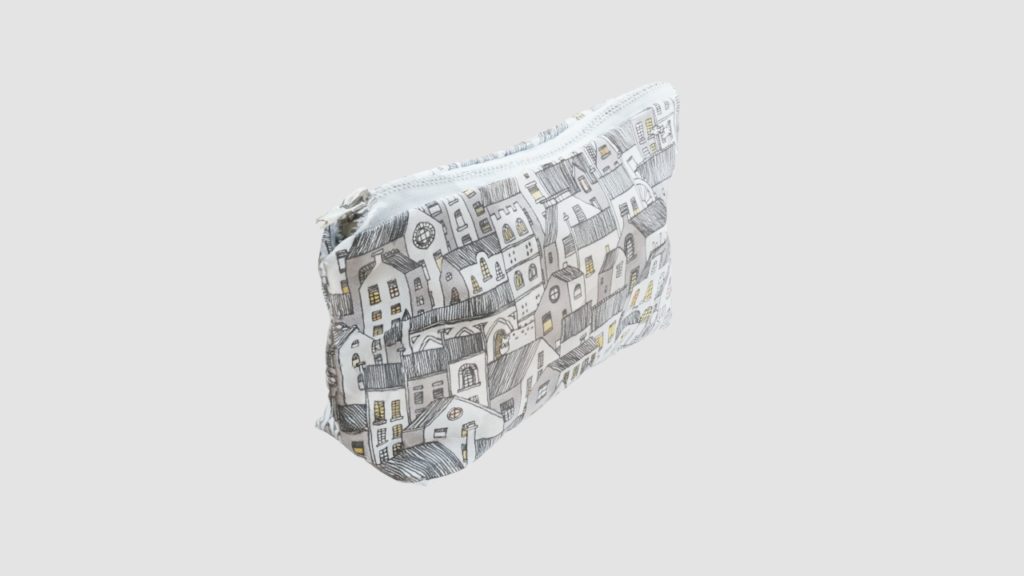
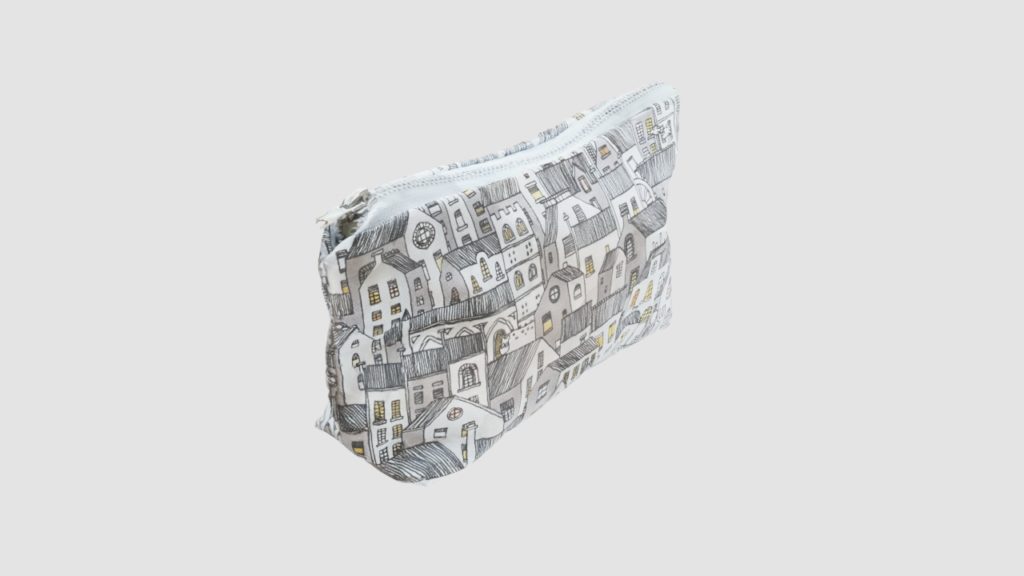
I also felt that the object was being slightly over-exposed by the light above it, causing it to appear ‘bleached’ and reducing the consumer’s ability to observe the design, artwork, and zip. Parts of the object nearest the camera were also a little darker than those further away, which felt jarring. To rectify this I reduced the light’s power to 70W, and moved it slightly nearer the camera’s position. Below you can see a side-by-side comparison.
Next Steps
My next step will be to create more photogrammetry models of the make up bag (approximately five – representing different stages of being unzipped) as well as some make-up paraphernalia such as lipsticks, which will be introduced to the final render for scale. I will then complete the above process again, and import the outcomes into the product page of my final prototype.
The AR experience will be created using Apple’s Reality Capture, as this is a free and user-friendly solution.